")
")
VI. Level
On ™REDPILL Game is always made up of individual levels. Each level may only use one tile set, while different levels may of course use the same tile set. So you may of course make a handful of levels in "Candy Land" and another handful of levels in "Caves of Darkness". What you can't do, however, is to use colorful Bonbonland tiles in the unspeakable Caverns of Darkness.
Even if nobody would have suspected anything else, but levels are actually edited by clicking on the button "Levels". surprise!
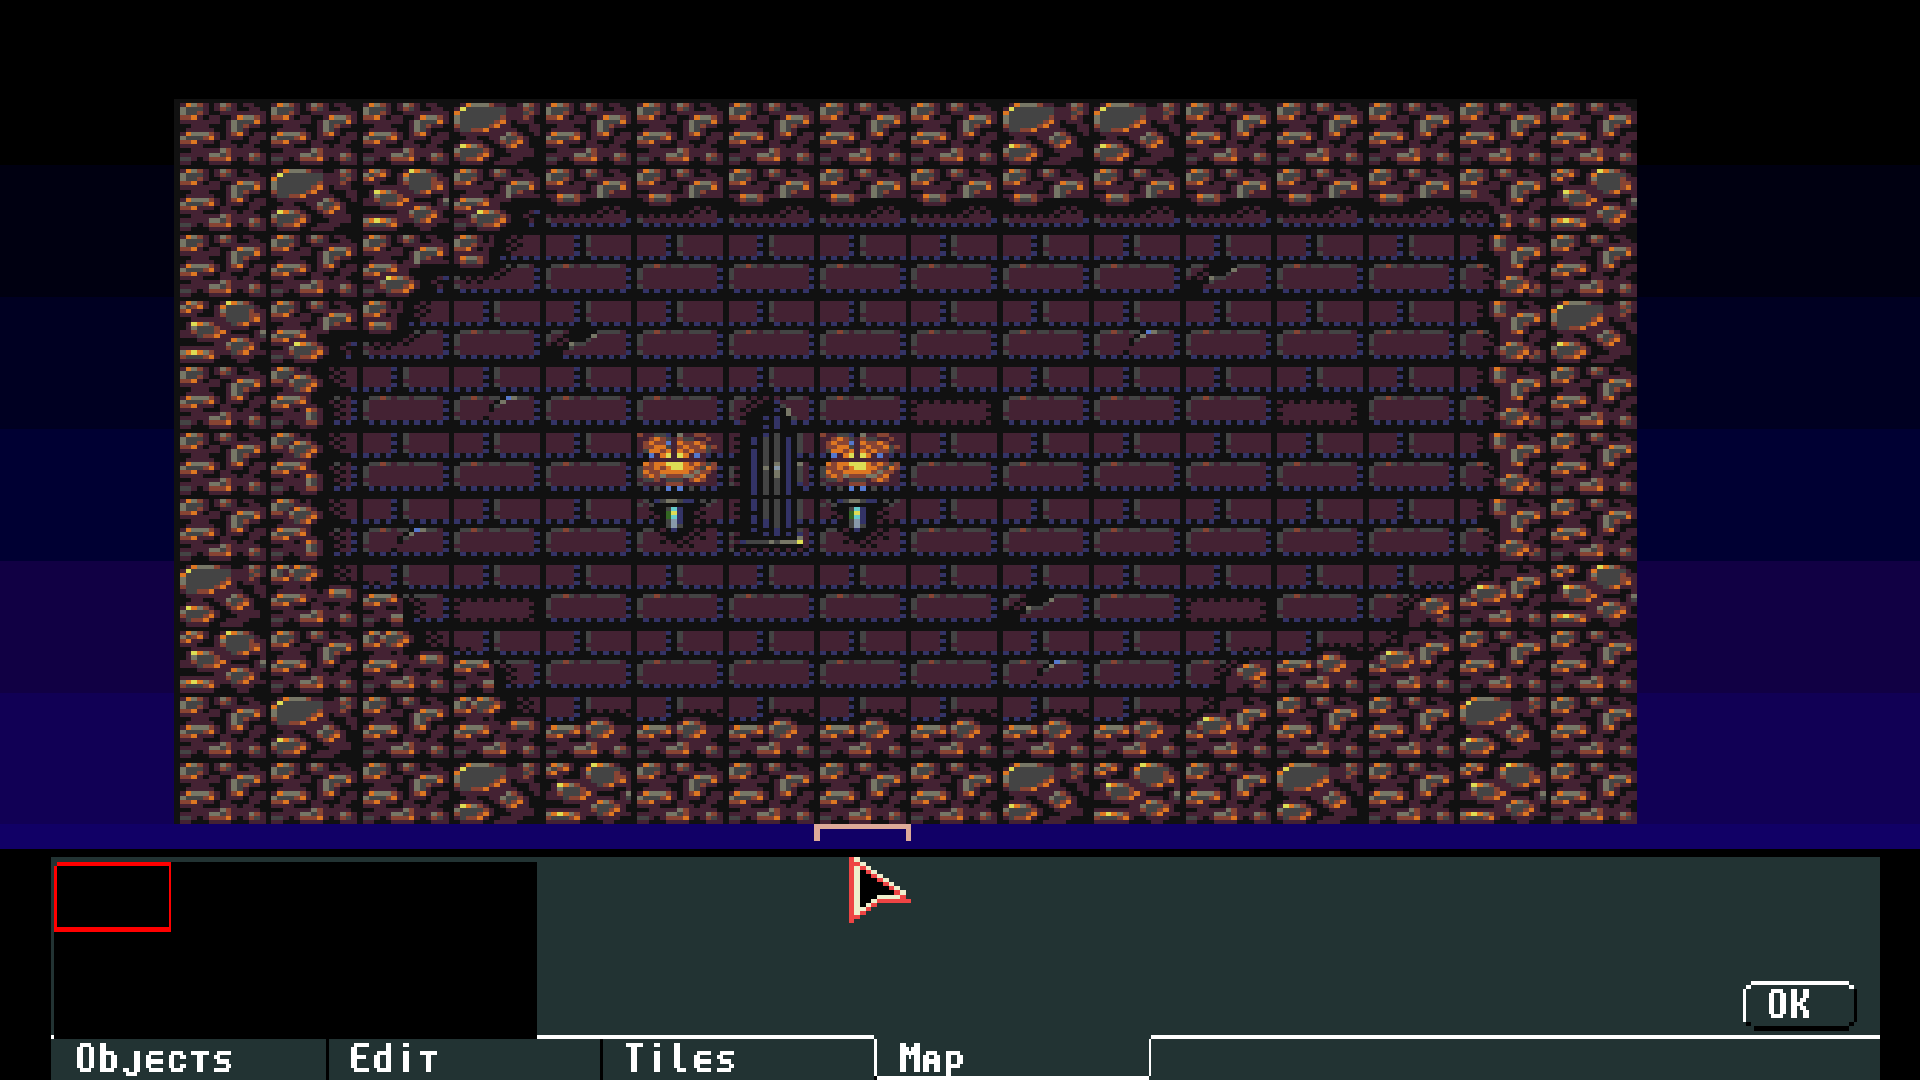
The menu for editing levels is a bit more extensive than the previous menus and is the central place to go for creating maps for your game.
In the following picture I have darkened the menu a bit and only highlighted the buttons that are currently interesting for us.

Under "Tiles" you select the tile you want to place in the map, while under "Map" you can place the same tile. What I said at the beginning about the comfort of ™REDPILL?
Click on "Tiles" and then select with the mouse any tile from the tileset. Spoiler: At the bottom of the screen the current tile number is displayed. This will be important later and then we will come back to the notebook mentioned at the beginning.
When you have selected a tile you change to the "Map" area and can paint the selected tile into your map with the left mouse button. With the right mouse button you can remove any mistake.
tips
tip 1: With the cursor keys (arrow keys) you can scroll the tileset and also your map, because the lower parts of the tileset are hidden by the menu.
tip 2: If you keep the left mouse button pressed while selecting a tile, you can draw a frame around several tiles and then paint that tile group into the map. The upper left selected tile is always the one which is painted under the mouse pointer. If you use the Tutorial-Tileset: Try it with the window! It consists of 3 tiles.
Translated with www.DeepL.com/Translator (free version)